
One of my strongest memories of what ‘home’ is, it the heat of a kitchen, the sound of the Archers omnibus, and the smell of pastry baking and jam making. My mum’s responsible for all of my (what she calls) ‘survival skills’ cooking; the basic, good, hearty stuff you can do with ingredients that come straight off the land. Something about bringing kids up in the 80s, I think, she’s always showing me how to bake, grow, and preserve native things. So there was something of a ‘homecoming’ about making my very first jam of my own. My favourite dessert at the moment is soya natural yoghurt with a tsp of my mum’s jam stirred in, and when I ran out of that, I thought ‘why not make my own’. So here it is. My First Jam. Based on a recipe from
Prep Time: 30 minutes | Cook Time: 1 hour cooling | Servings: 1.5kg
Nutritional Info: Per tablespoon: 42kcals, no fat (no saturated), 0.1g protein, 11.2g carbs, 11.2g sugar, trace salt
Ingredients: (there’s also ingredients for strawberry jam pictured, which I cooked just after the blackberry and apple one. Sure you can work out which fruit belongs where)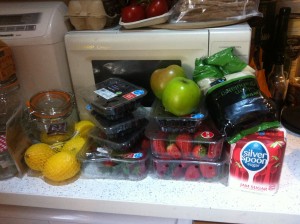
Put the blackberries and apples into a large pan with the lemon juice and 100ml water. Place over a medium heat and simmer gently for 10-15 minutes, until tender and reduced. Basically they’ll suddenly be FULL OF JUICE around 8 minutes in, you have to wait for that to happen, and then let it reduce for 5-10.
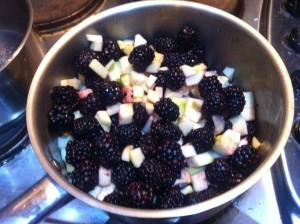
Put a plate into the freezer to chill for later, this is how you’ll test whether or not it’s at setting point. Add the jam sugar to the pan and cook, stirring to dissolve. Bring to the boil and boil rapidly for 5 minutes.
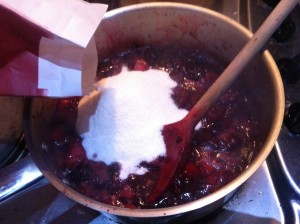
Remove from the heat. Put a teaspoonful of jam onto a chilled saucer for 1 minute. Drag your finger lightly over the jam. If it wrinkles, it has reached setting point; if it doesn’t, boil for a couple more minutes, then turn off the heat and try again with another chilled saucer. Set aside to cool for 1 hour.
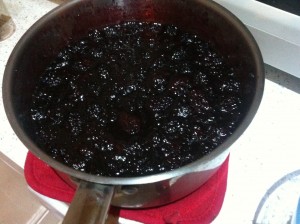
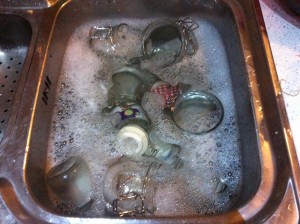
Preheat the oven to its lowest setting. You now have to sterilise the jars and lids that you’re going to be using, clean and upturn them – lids off – in very hot soapy water.
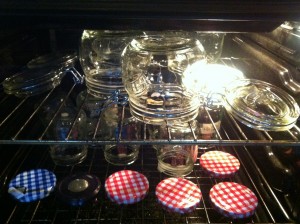
Put in them in the oven for at least 15 minutes – on a heat which leaves the glass just ok to handle, pretty much the lowest setting works fine.
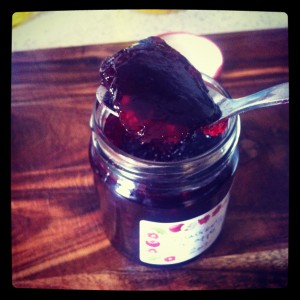
Stir the jam, when cool-ish (I only left it about half an hour and it was fine) then ladle into each jar, place a wax circle (wax side down) on top to help seal the jam from any stray bacteria, seal tightly, and label. Ready to eat when cool!

2 thoughts on “Blackberry and Apple Jam”